To begin designing binders, add a target protein/receptor via the + Add Target function in the Targets section.
Adding a Target
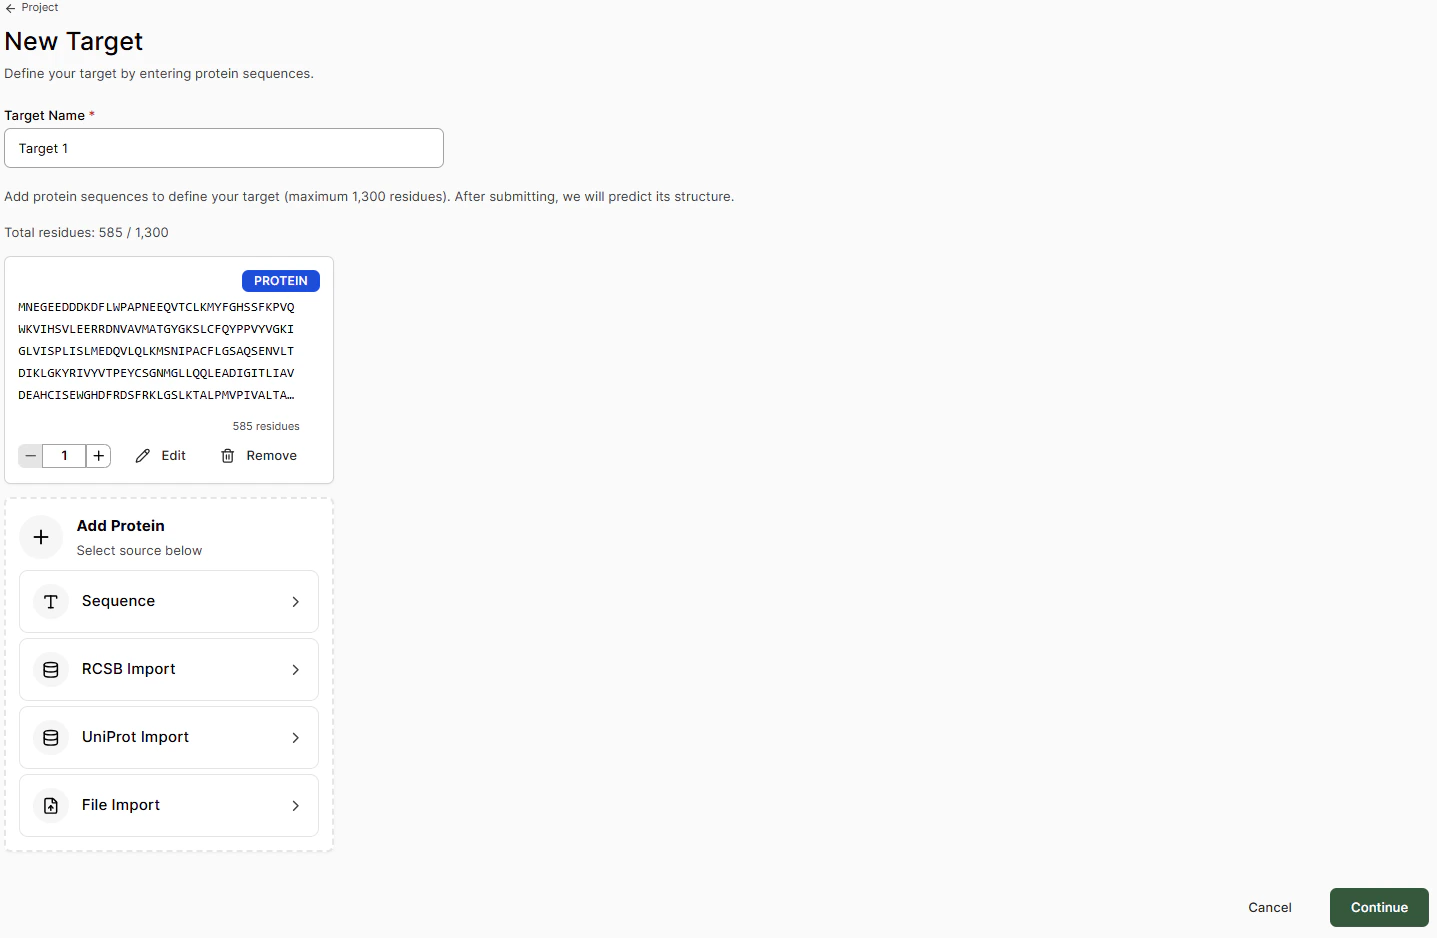 Add the target name and the amino acid sequence via one of the following options:
| Import Method | Description |
|---|
| Sequence | Paste the FASTA sequence and select any post-translational mutations or modifications |
| RCSB Import | Add sequence via the RCSB-PDB ID code of a deposited crystal structure |
| UniProt Import | Add sequence via the UniProt code |
| File Import | Add sequence from a .cif structure file |
Targets are not restricted to the main receptor of interest in a project. Additional off-target receptors, mutants, homologs, etc., can be added within a Design Project for Boltz structure and binding affinity assessment.
At this point, targets can only be formed by protein chains. Co-factors and RNA/DNA targets are not yet supported for small-molecule projects.
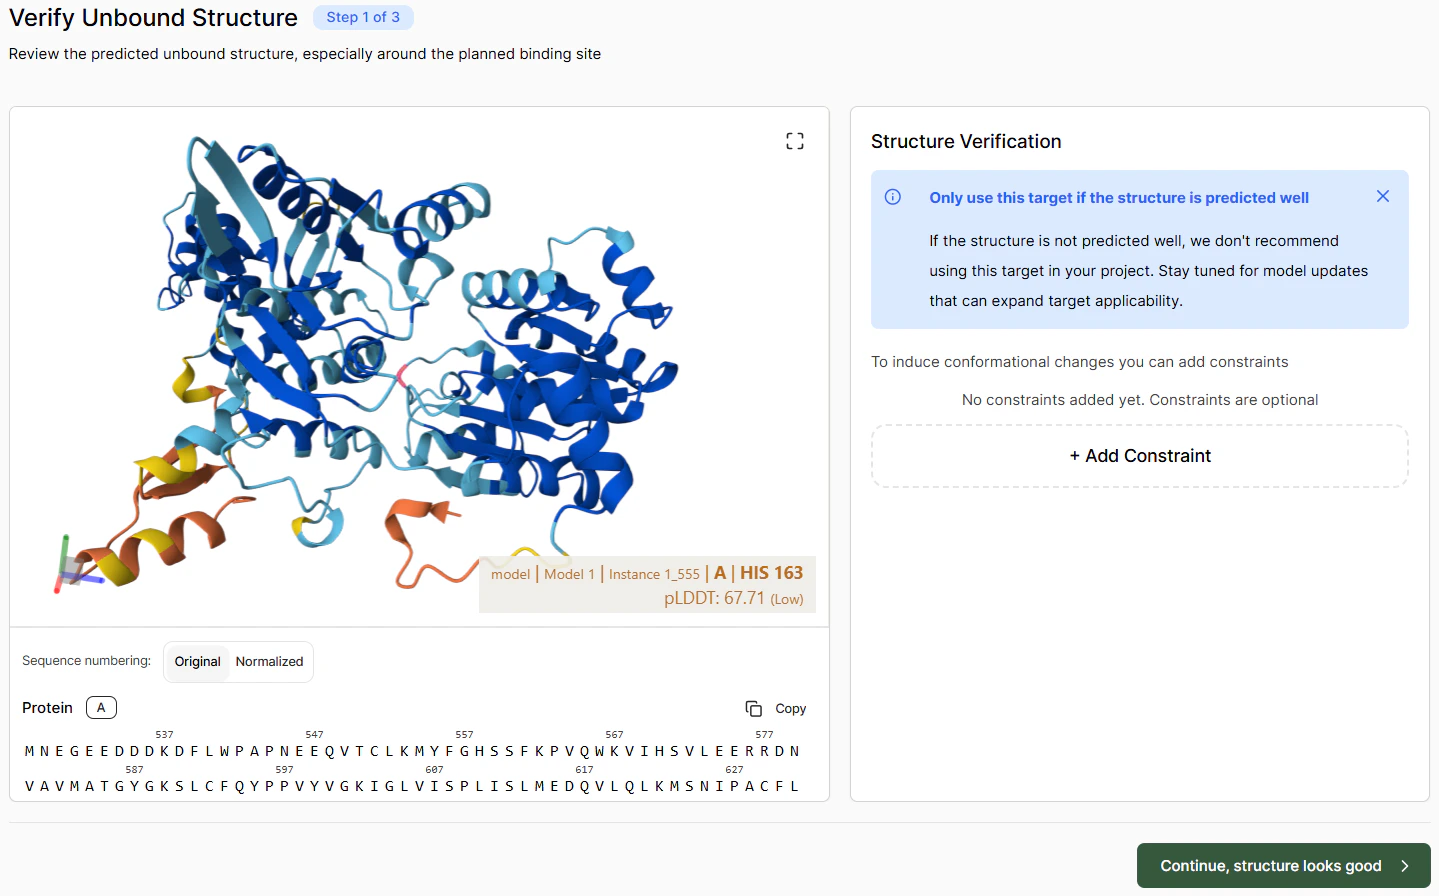
Verifying the Apo Structure
Verify that the unbound structure looks roughly correct. If there are particular issues, you can try solving them by adding constraints. Once satisfied with the apo pose, click Continue.
Defining the Binding Pocket
To map out a binding pocket, either:
- Select residues in the left-hand sequence panel, or
- Select them directly in the 3D viewer
Selected residues are highlighted in green. If you don’t know the binding pocket, you can leave it blank.
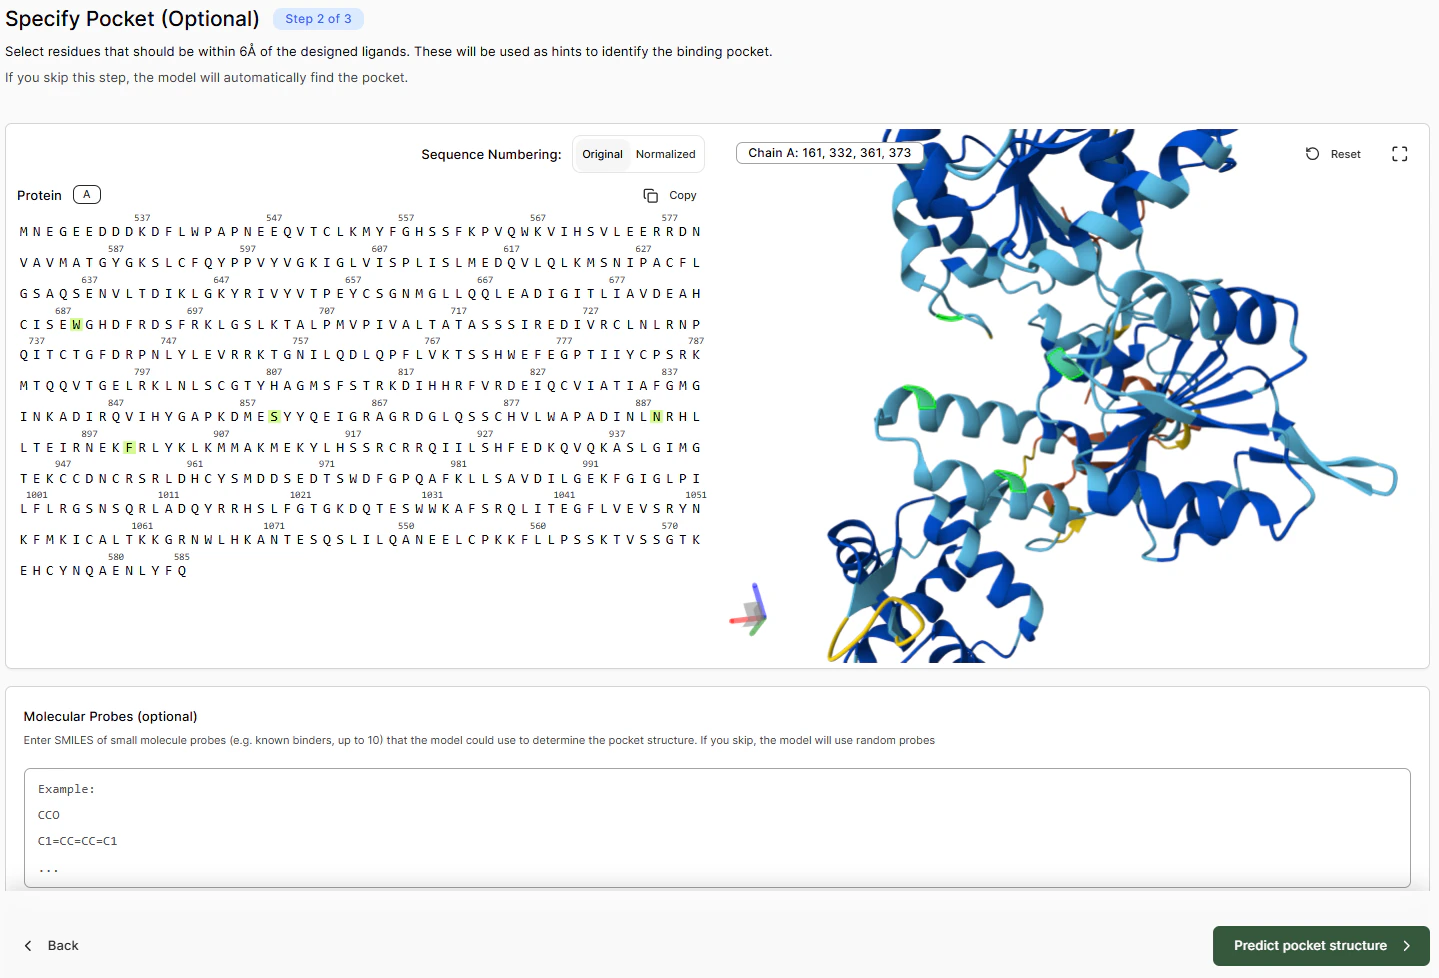
To help with pocket detection, Boltz uses molecular probes. You can enter a SMILES string of known binding molecules to assist this process.
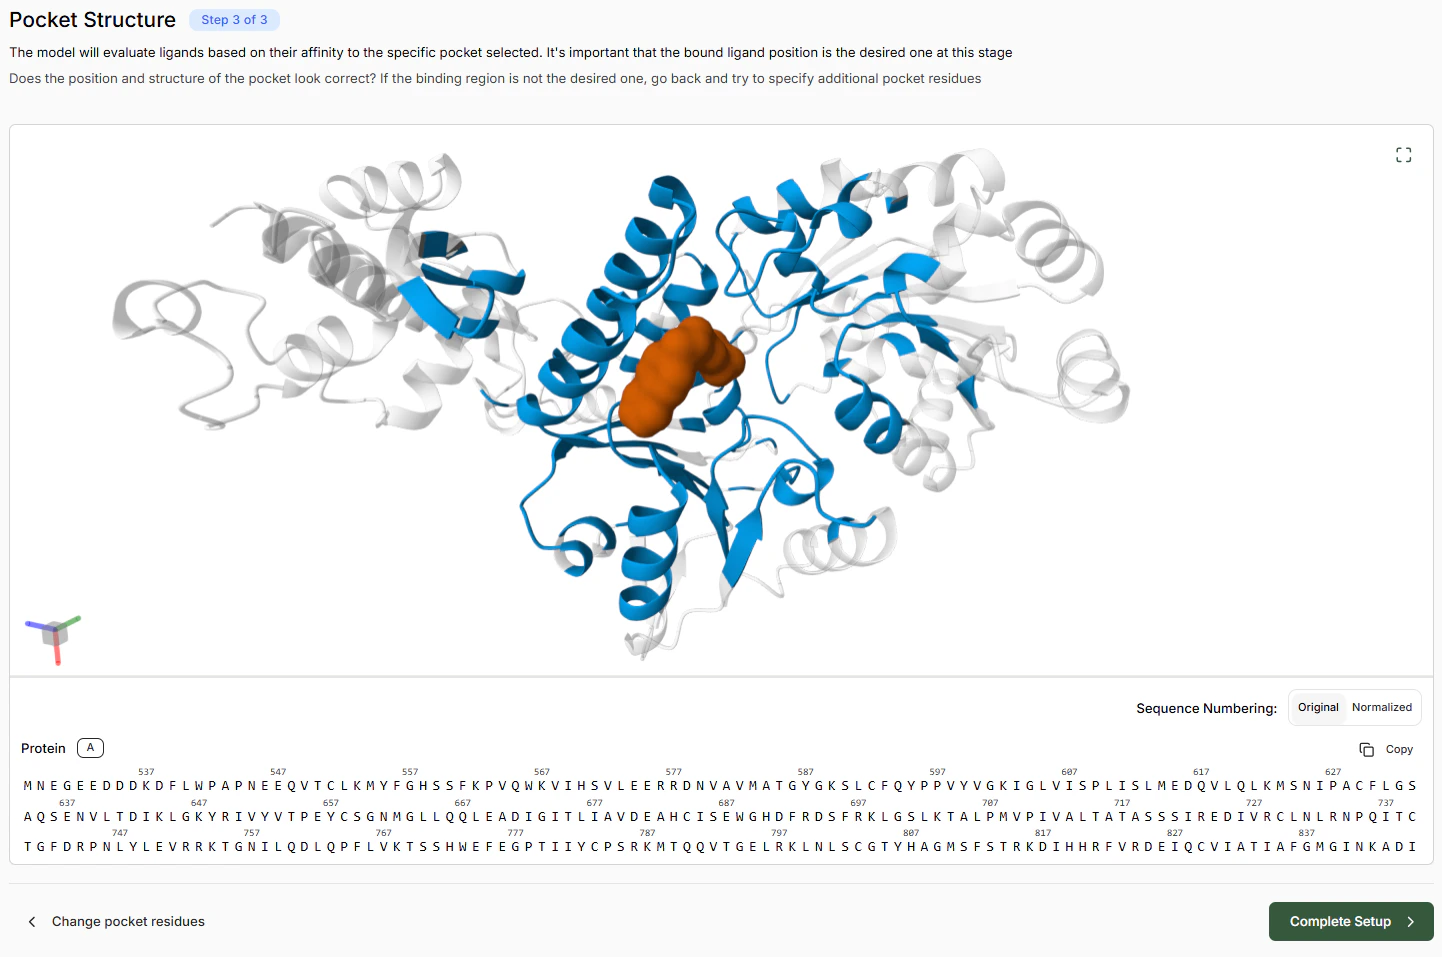
This verification step is important because from this point onwards the model will use the identified pocket as the specific target for all molecules. If the probes are bound to the wrong pocket, return to the previous screen and select more pocket residues.
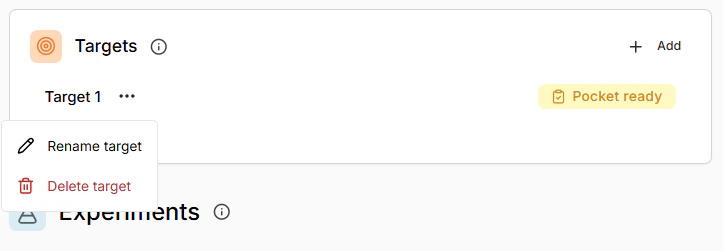
Deleting Targets
To avoid conflicts, currently Targets that have completed setup cannot be deleted.
Targets in progress can be deleted be selecting from the three dot menu in the Target list.